Understanding the sealcoating process
Sealcoating is one of the most effective ways to protect asphalt surfaces, extend pavement lifespan, and maintain a clean, professional appearance. But the success of any sealcoating project doesn’t begin with the sealer itself—it begins long before application.
For commercial property managers, HOAs, retail centers, and industrial facilities that rely on high-use asphalt surfaces, proper preparation is the single most important step in achieving a long-lasting sealcoat. Without it, even the best material applied by the most skilled crew won’t perform the way it should.
The sealcoating process is only as strong as its foundation—and that foundation is prep work.
Why preparation makes or breaks a sealcoating project
Sealcoat bonds only to clean, stable, properly prepared asphalt. If dust, debris, oil contamination, standing water issues, or untreated cracks remain on the surface, the protective layer will fail long before its expected lifespan.
In high-traffic commercial environments, poor preparation can shorten a sealcoat’s lifespan by years. That means more frequent applications, higher long-term maintenance costs, and asphalt that deteriorates faster than it should.
A professionally executed preparation process ensures:
- Maximum adhesion between the sealer and asphalt
- Longer-lasting protection
- A uniform, clean finish
- Reduced risk of premature wear, peeling, and flaking
- Better overall return on investment
The number one thing that makes sealcoat last isn’t the brand of material—it’s how well the surface is prepared.
The essential components of proper pavement preparation
Thorough mechanical cleaning: Wire brooms and blowers are a must
Cleaning is the foundation of the sealcoating process, and commercial surfaces demand more than a quick sweep.
Two tools are non-negotiable:
- Wire brooms
- Wire brooming breaks up compacted dirt, oxidized material, and fine debris embedded in the asphalt surface. This step opens the pores of the pavement and creates the texture needed for proper sealer adhesion.
- Mechanical blowers
- After wire brooming, high-powered mechanical blowers remove all remaining dust and loose particles. Even small amounts of dust can create a barrier between the asphalt and the sealcoat, leading to weak bonding.
Using one without the other leaves the surface only partially prepared. Together, they create the clean, stable base that the sealcoating process depends on.
Crack cleaning and repair
Sealcoat is not designed to bridge active cracks.
Before sealing, cracks must be:
- Thoroughly cleaned
- Dried
- Properly filled or sealed
Any loose material left inside a crack prevents proper filling and eventually causes the sealcoat above it to fracture. By addressing cracks first, property owners prevent spreading, water intrusion, and premature surface failure.
Crack repair is not optional—it is a critical step in protecting the integrity of the new sealcoat.
Drainage corrections and patching
Sealcoating protects pavement, but it does not correct structural issues.
Low spots that hold water, deteriorated patches, or failing sections must be repaired before the sealcoat is applied. If water is allowed to pond, it will weaken both the asphalt and the new sealcoat layer.
Proper drainage ensures water flows off the surface rather than sitting on it. Removing drainage issues and completing necessary patching work before sealing dramatically improves long-term performance.
Skipping this step guarantees the sealcoat will fail first in those problem areas.
Oil spot treatment: Burn and prime
Oil contamination is one of the biggest threats to sealcoat adhesion, especially in commercial parking lots with delivery zones or heavy vehicle turnover.
Simply applying sealer over oil will not work. It will peel.
A professional sealcoating process includes:
- Burning off oil spots
- Oil-saturated areas are treated with heat to burn off contaminants embedded in the asphalt binder. This prevents oil from resurfacing and interfering with adhesion.
- Spraying a latex primer
- After burning, a latex-based primer is applied to create a stable bonding surface. This ensures the sealcoat adheres properly to areas that were previously contaminated.
Without these steps, peeling and flaking are almost inevitable in high-traffic zones.
Masking off monument boxes and manhole covers
Attention to detail matters in commercial environments.
Before applying sealcoat, crews should carefully mask off:
- Monument boxes
- Manhole covers
- Utility lids
- Drain grates
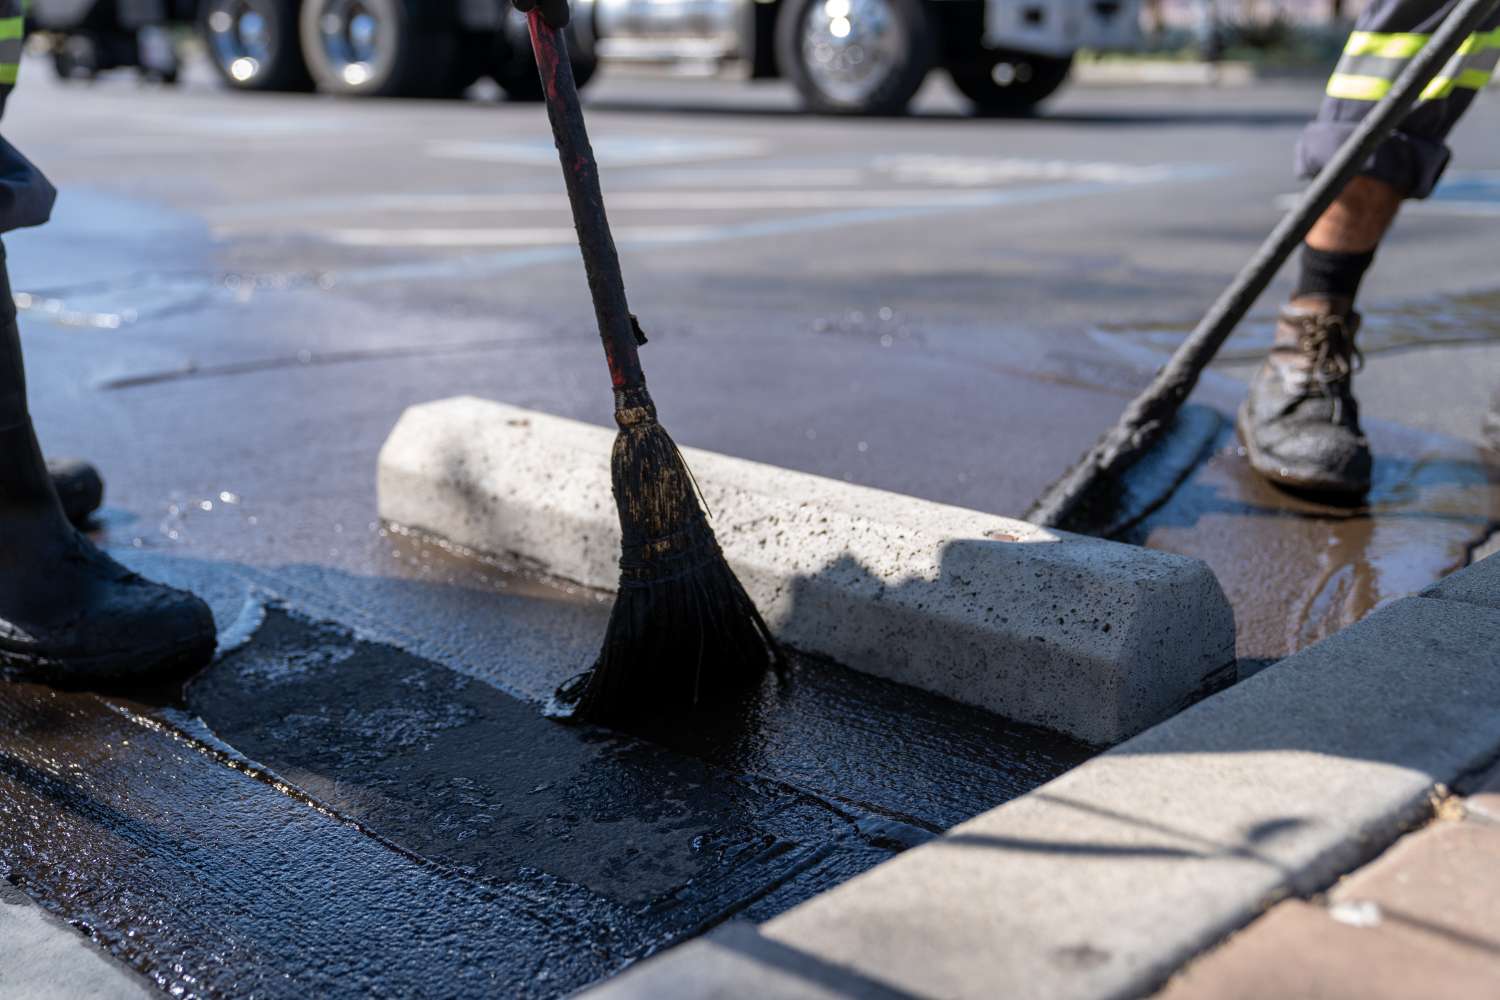
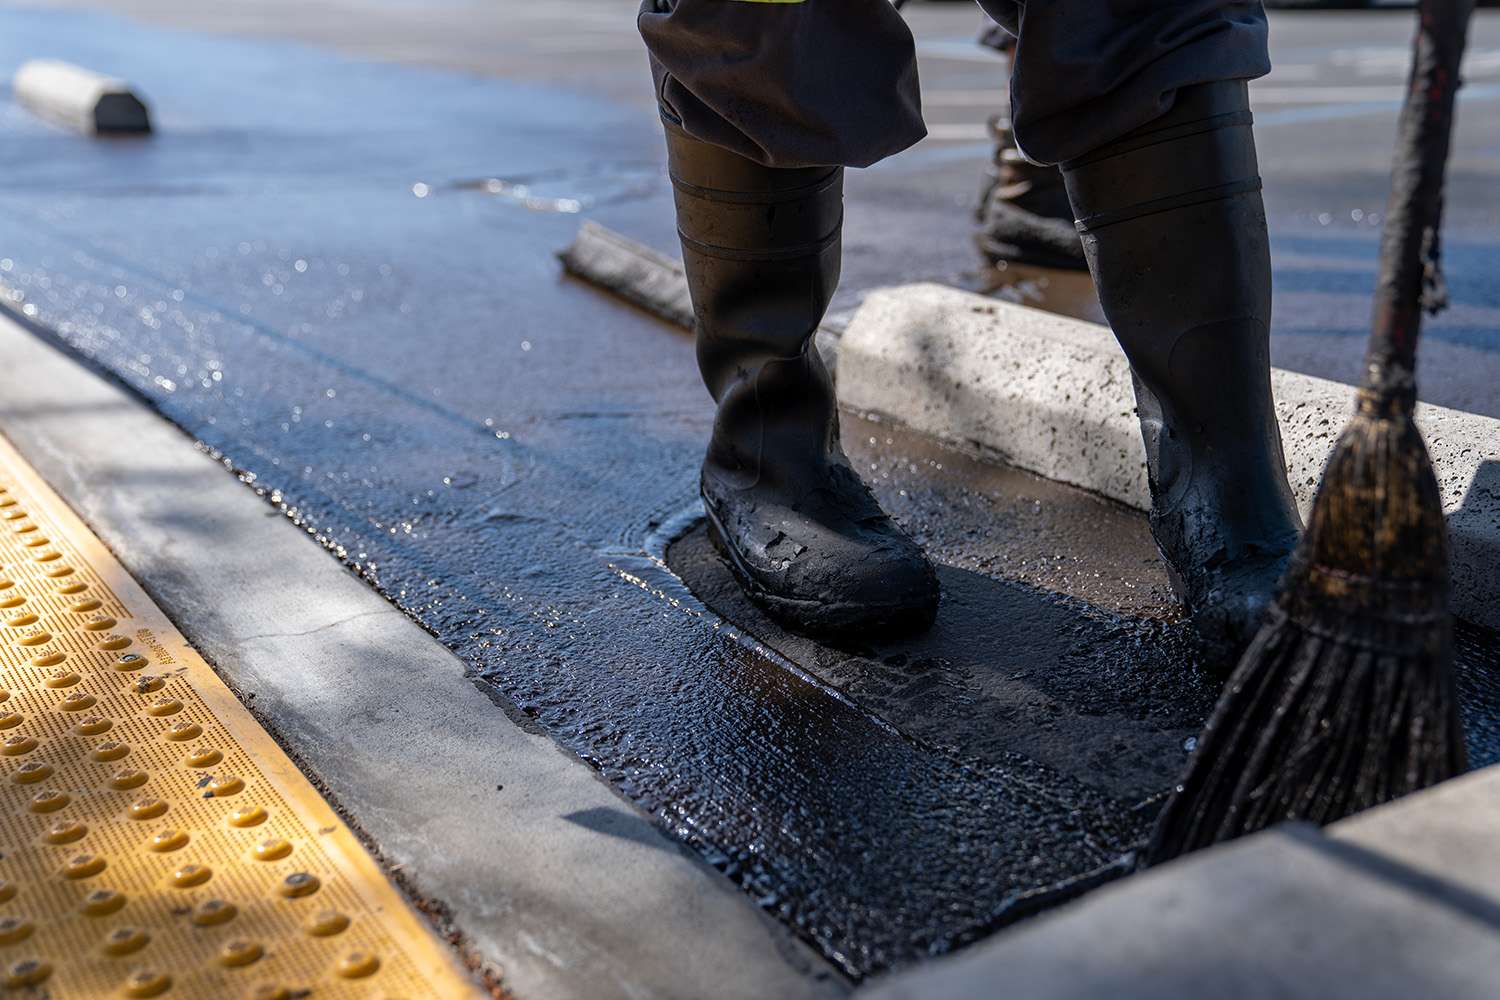
Masking protects infrastructure, prevents overspray, and ensures a clean, professional finish. It’s a small but important step that separates rushed work from high-quality craftsmanship.
How poor preparation shortens sealcoat lifespan
Even the highest-quality sealer can fail quickly if applied to a poorly prepared surface. Common issues caused by inadequate prep include:
- Premature wear due to weak bonding
- Uneven or blotchy appearance
- Flaking or peeling in oily areas
- Thin spots caused by debris interference
- Shortened maintenance cycles
When property owners invest in sealcoating, they are investing in longevity. Cutting corners during preparation undermines that investment.
The role of preparation in long-term pavement maintenance
Sealcoating is typically performed every 2–3 years, depending on traffic volume and usage. But those maintenance cycles only remain cost-effective when each application lasts as intended.
Quality preparation:
- Extends the life of each sealcoating cycle
- Protects the underlying asphalt from oxidation and water intrusion
- Reduces total lifetime maintenance costs
- Maintains a clean, professional appearance
Proper prep isn’t just about today’s project—it’s about protecting the long-term value of your pavement.
Conclusion
When it comes to the sealcoating process, preparation is not just an early step—it is the most important step.
Mechanical cleaning with wire brooms and blowers, crack repair, drainage corrections, oil burn-off and latex priming, and careful masking of monument boxes all determine how well the sealcoat bonds and how long it will protect your pavement.
For commercial properties and high-use environments, professional preparation ensures durability, performance, and long-term value.
Because when your pavement is properly prepared, your sealcoat works exactly as it was designed to—protecting your investment for years to come.